Git is a widely used open-source software version control tracking application used to track projects across different teams and revision levels. In this blog, we will show you how to install Git on your Windows machine.
Prerequisites
- Admin privileges
- Access to CMD or Command Line
- Text Editor ex. VS Code
- Username and Password for the GitHub website (Optional)
Steps for Installing Git on Windows
Installing Git prompts you to select a Text Editor. If you don’t have one, you can either download VS Code or Sublime Text. We strongly advise you to install any of the above before installing Git.
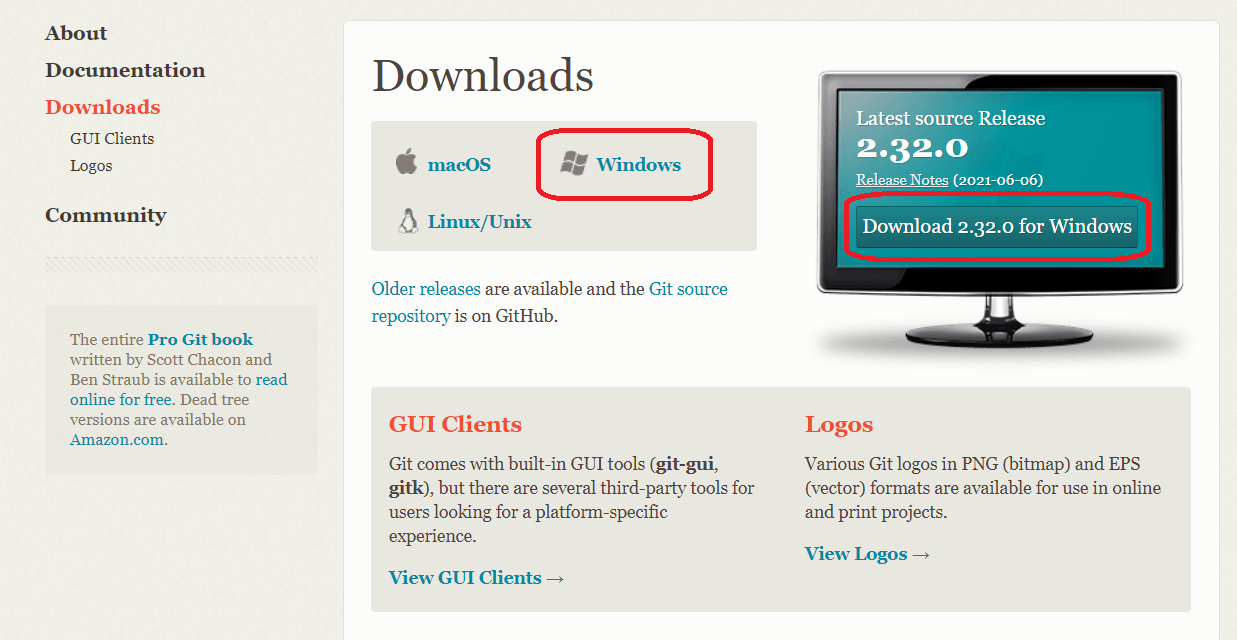
Download Git for Windows
- Browse to the Official Git Website: https://git-scm.com/downloads
- Click Download For Windows and let the download to complete.
Launch Git Installer
1. Download Location
Browse to the Download location and double click on the file to extract and launch the installer.
2. Give Required Permission
Allow the app to make changes to your device by clicking Yes on the User Account Control dialogue that pops up.
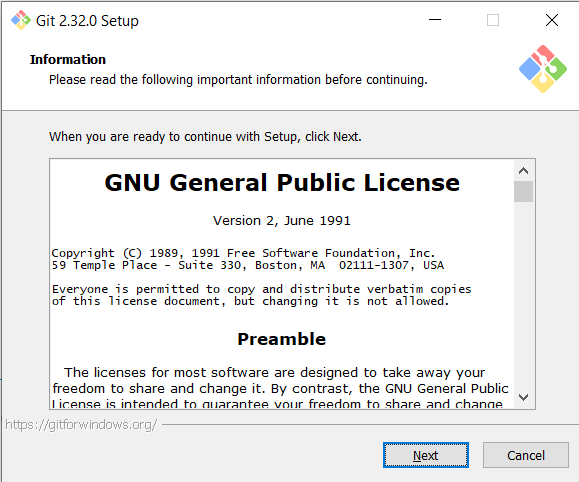
3. Read License Terms & Conditions
Review the GNU General Public License, and when you are ready, click Next.
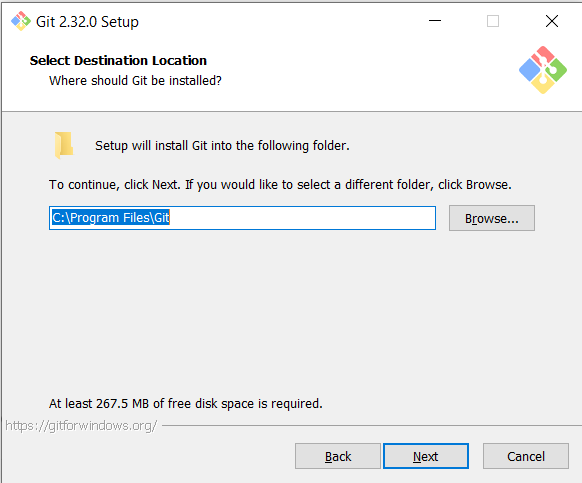
4. Install Location
The Installer will ask for the location. Leave it as it is unless you want to install it in a different location, and click Next.
5. Select Component
A Select Component screen will appear. Leave it to default selections unless you want to add some other features, and click Next.

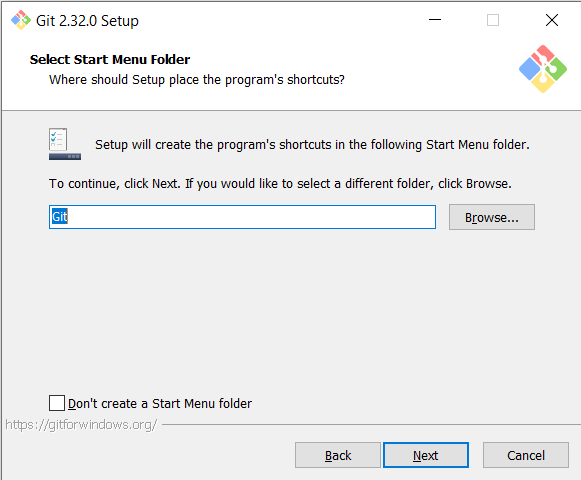
6. Start Menu Folder
The Installer will offer to Select Start Menu Folder. Leave it as it is, and click Next.
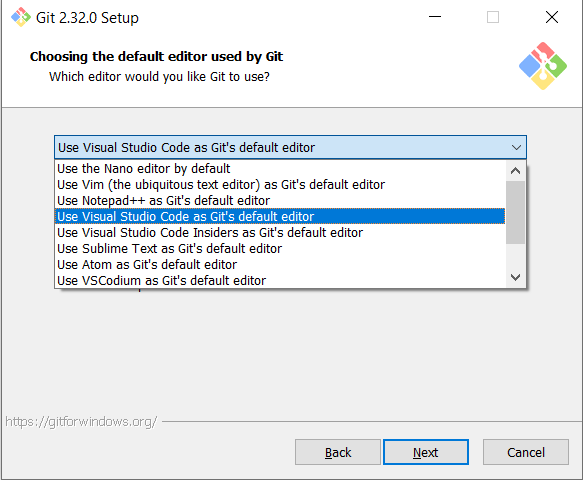
7. Selection of Text Editor
Select the Text Editor to be used by Git. Use the drop-down menu to choose your favourite Text Editor, and click Next.
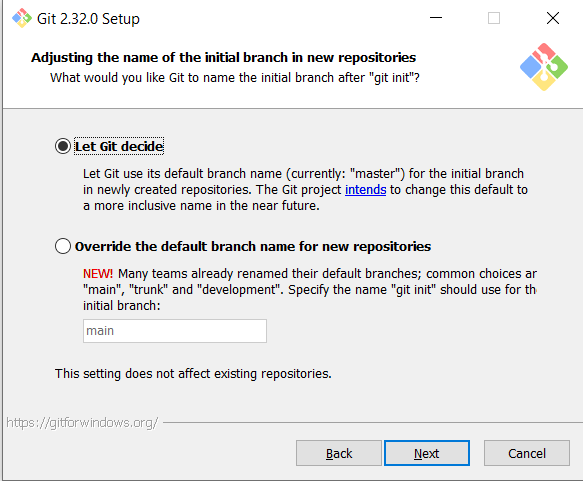
8. Initial Branch Name
It will ask you to adjust the initial branch name in the new repository. Choose Let Git Decide, and click Next.
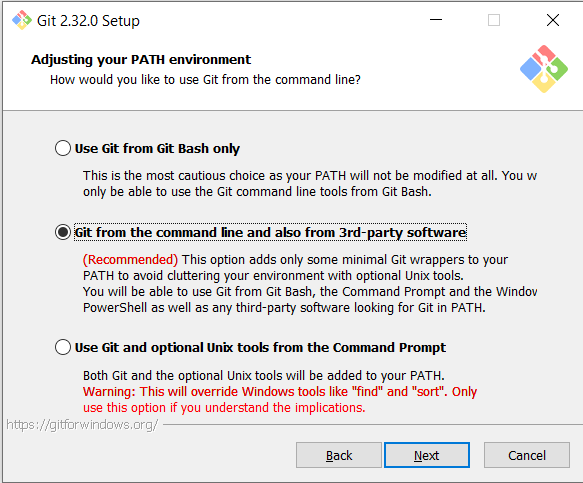
9. Path Environment
This step allows you to adjust your PATH environment. Choose Git from the command line and also from 3rd-party software (Recommended), and click Next.
10. Library To Use
Choose Use the OpenSSL Library option, and click Next.

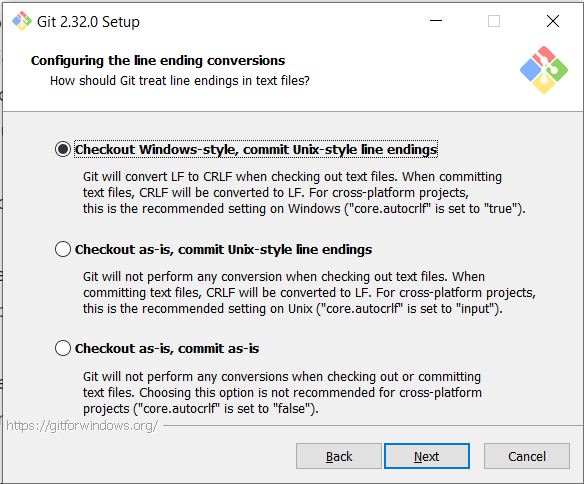
11. Configure Line-Ending Conversions
In this step, you will be asked to configure line-ending conversions. We recommend you leave the default selection and click Next.
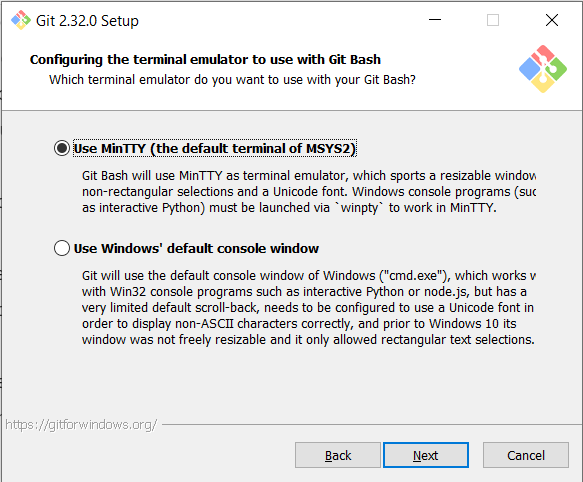
12. Choose Terminal Emulator
Choose the terminal emulator you want to use. The Default MinTTY is recommended because of its features. After selection, click Next.
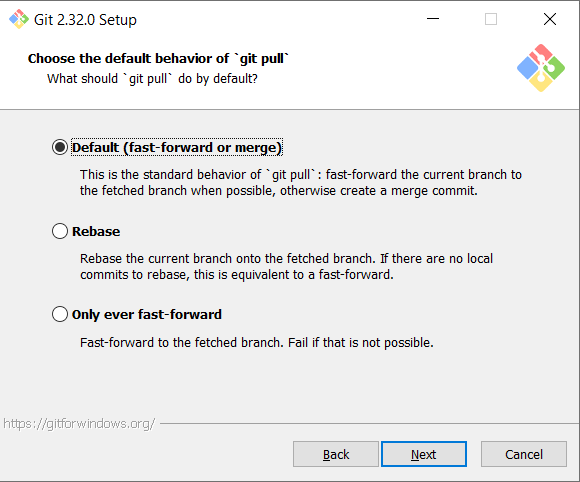
13. Choose Default Behaviour
Choose the default behaviour of ‘git pull’. Default (Fast-Forward or Merge) is recommended. After selection, click Next.
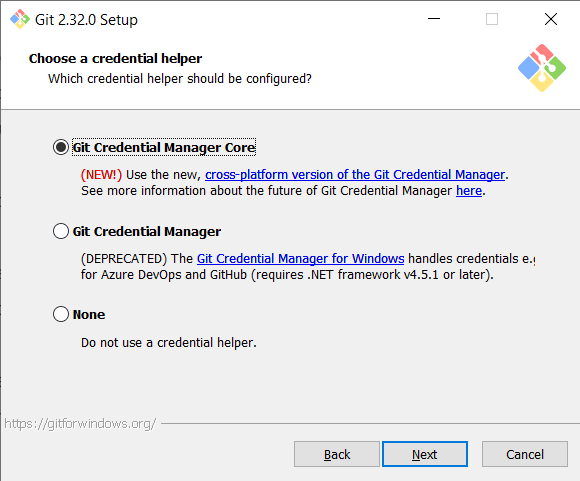
14. Choose Credential Helper
Choose a credential helper. Git Credential Manager Core is recommended. After selection, click Next.
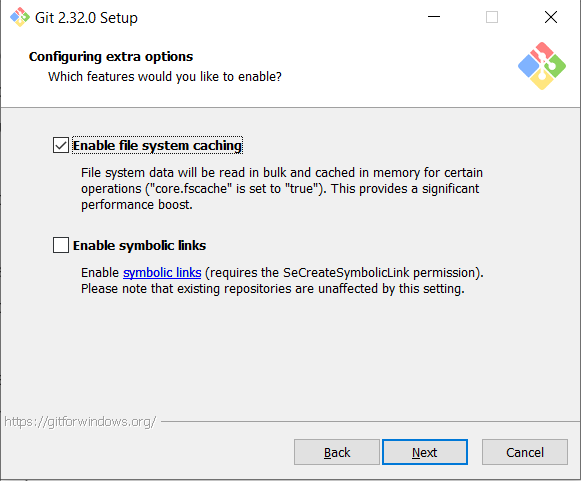
15. Configuring Extra Options
The default options are recommended. However, this step allows you to decide which extra option you would like to enable. After selection, click Next.
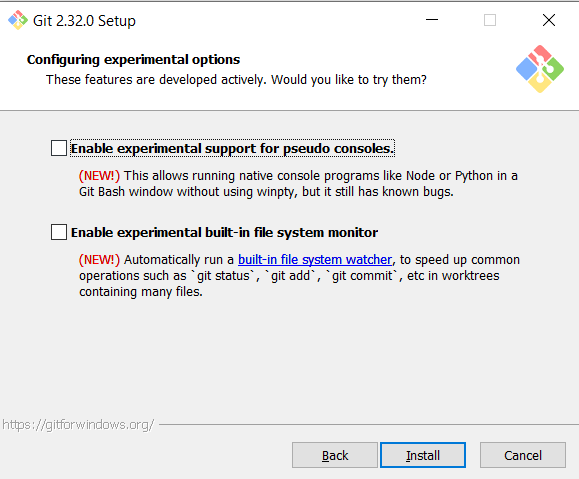
16. Configuring Experimental Features
Depending on the version of Git you’re installing, it may offer to install experimental features. At the time of writing and publishing this article, the option to Enable experimental support for pseudo consoles and built-in file system monitor was offered. Unless you are feeling adventurous and are not confident to use experimental features, leave them unchecked and click Install.
17. Complete Git Installation
Once the installation is complete, tick the box to view the Release Log, or Launch Git Bash, then click Finish.

How To Launch Git In Windows
Git has two modes of use, the first is a Git Bash (Command Line) and the second is Git GUI (Graphical User Interface).
Launch Git Bash Shell
To launch Git Bash Shell open the Windows Start Menu, and search Git Bash, and press Enter or click the app to open the application.
Launch Git GUI
To launch Git GUI open the Windows Start Menu, and search Git GUI, and press Enter or click the app to open the application.
Conclusion
By now, you must have installed Git on your PC. In the next post, we will be covering how to create a GitHub account and how to make a GitHub repository.
If you have any questions or facing any errors, do let us know in the comments below.
We hope that we bring some value to your life through posting our content, might content meet your expectations.
You can always comment on the post to give feedback or reach out to us through email for sharing what you like to read on our blog.
For any kind of collaboration or query reach out to us using email: [email protected]
Read more related to Technology, Programming related stuff on EGrasps.
Check out our other posts on Medium.
You can reach out to us on WhatsApp.
EGrasps and the author do not accept culpability for losses and/or damages arising based on information in this article.